Hello there! I decided to skip ahead, for a moment, to a stitch that I have recently been asked about from someone who is working on one of my patterns right now..."Baby Love". It is the stitch that forms the (what I call) braid stitch. Below is the finished project and next to it is the braid stitch on the baby pins so you can see what I am referring to...


I began by drawing out the shape of the pin with my white chalk pencil. Starting with a knot at the end of all 6 strands of my DMC floss, and coming up to the front with my needle, I went to the right (approximately 1/8") and came up to the front from where I began as in 4th photo down.


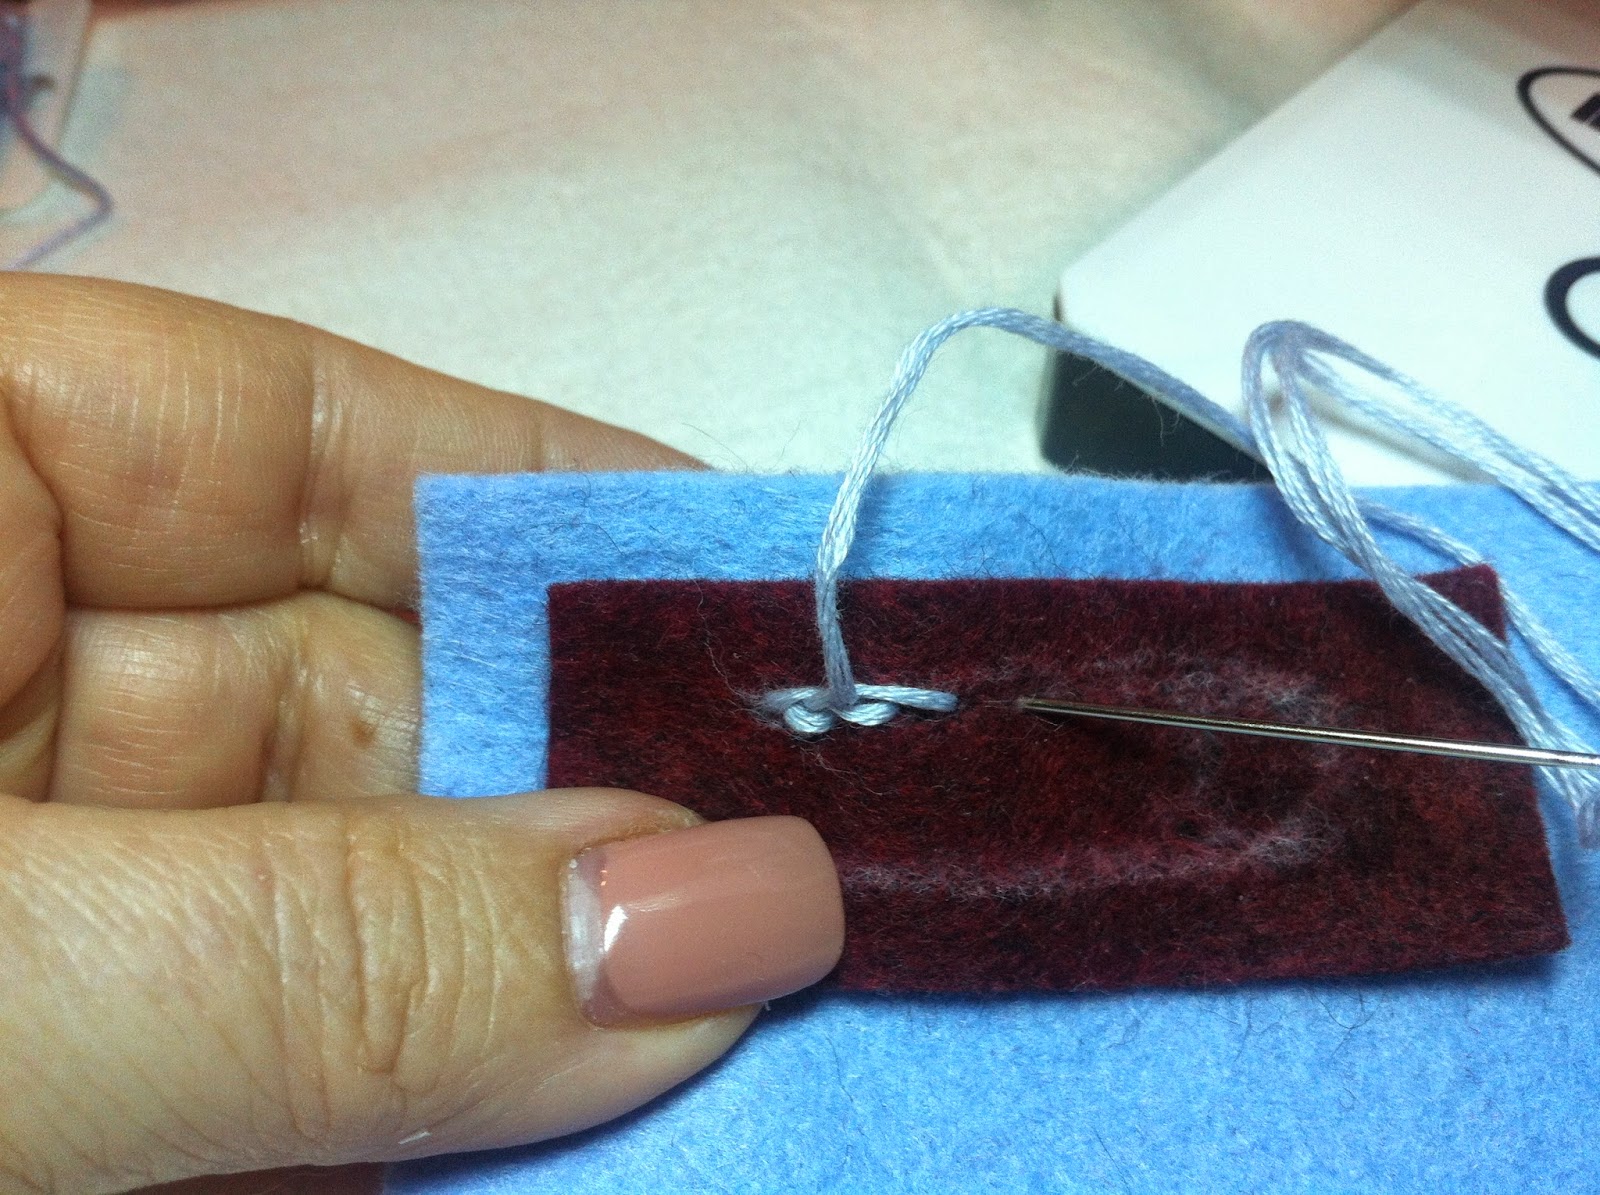
Now, keeping my loose thread on top always up, I go to the right (again appox 1/8") and come up to the front, from underneath, about halfway over the top of that last stitch. As I keep continuing this same process, you can begin to see how pretty this stitch is looking more like a braid!


I continue to do the same stitch as I follow my chalk line rounding the corner and beginning to stitch around the entire circle. Note that I turn my piece as I go around and have to go right over some of my previous stitches to complete the circle and begin to stitch in a straight line again.


Okay, I am at then end, pretending the top of the pin is there, as in the photos above. I will go down at the very end of my stitches, pulling my thread to the back to make a knot.


I will now turn over my project to form a knot by catching a tiny bit of fabric on the back, forming a loop in which I will have my needle go through twice before pulling my thread tight, slowly, until the knot completes right up against the fabric as in the 3rd photo down.


Now, all I need to do to finish is to hide my thread by taking it through my fabric about a half inch (usually under something I've already stitched on the front) in between the fibers so it doesn't show on the front, cut and done!!! Hope this is of help to you. If it is, please post and let me know! Thanks and, as always,
Happy Stitching!!!
Thanks for the tutorial. It's fun to see different stitches. It kind of looks like a chain stitch/Crochet stitch. It makes a very nice texture design.
ReplyDelete(Tried commenting from my phone, but it didn't cooperate!)